Page and Post Editor – Toolbar Explained
To make changes to your page or post you will need to utilize your toolbar. When you first open a new page or post, your toolbar will look like this:
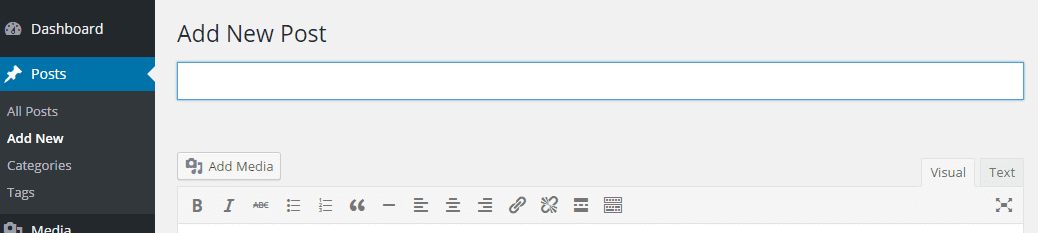
You will enter the title in the box under Add New Post where it says enter title here. Just under that is the add media button which I will explain in just a moment. From left to right, you have the following options:
Bold, Italics, Strikethrough, bulleted list, numbered list, block quotes, horizontal line, align left, align center, align right, insert/edit link, remove link, insert read more tag and toolbar toggle. To see the rest of your toolbar, click on the toolbar toggle icon as shown below.

Once you click on the toggle toolbar, you will see the rest of your toolbar which has some pretty key elements for making changes to your text.
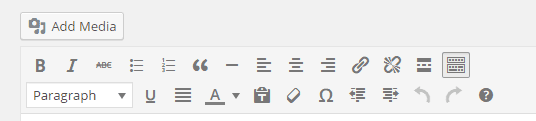
The second row contains the following items: paragraph dropdown (changes formatting), underline, justify, text color, paste as text, clear formatting, special character, decrease indent, increase indent, undo, redo and keyboard shortcuts. Now, many of these you may know how they function already. We’ll just run through them all and show examples for how they effect your page or post.
Bold will make your text bold and standout as important.
Italics puts a slight slant as if you are stressing a point.
Strikethrough places a line through the text.
- Bulleted list
- Numbered list
Block quote makes the quote stand out more.
Horizontal line is for effect, breaking up the content on the page.
If I am using align left my text is even with the left of the page.
If I align right it will be even with the right side of the page.
And if I align center, my text will be aligned in the center of the page.
The add/edit link icon allows you to add a link to another page, site or even an affiliate link. You also have additional options after you click on the icon as shown below.
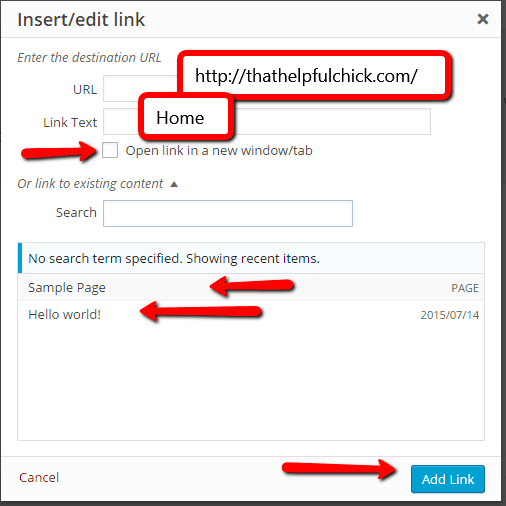 You would enter the URL of the site you want to link to in the first line. The next line you can enter how you want the text to read if you hadn’t already highlighted the words. Click in the box next to open link in new window so when your reader clicks on the link, they still have your page open. In the bottom area you are able to select existing content from your site to link to. Once done, click add link.
The remove link icon will of course remove the link attached to the text
Read more tag is for when you have a blog roll. It allows for only an excerpt of your posts to be displayed so readers can see more of your recent blog posts in the blog roll. It looks like this in editor:

and like this in a blog roll:
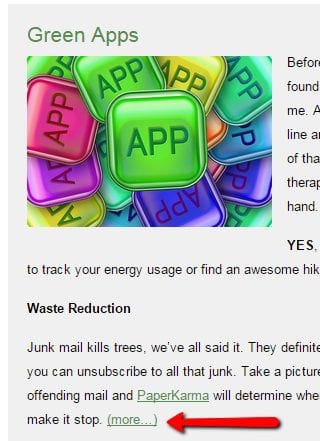
All themes are different so you may see a button instead of words.
Now on the second row, the first option to set the format of your text. Paragraph is your normal writing as in this sentence.
You also have the header 1 – 6 usually used for heading titles:
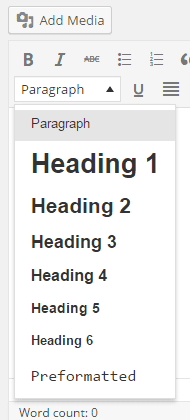
They would look like this:
Heading 1
Heading 2
Heading 3
Heading 4
Heading 5
Heading 6
As you can see, it changes not only the size but the strength of the word as well.

Underlining your text here.
Some people like even lines throughout their pages and will choose to justify their pages. It will place even spacing between your words and cause the edges of the page to line up.
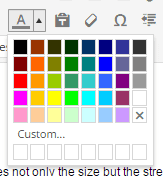
You can change the color or your text or titles for more emphasis by using the text color option.
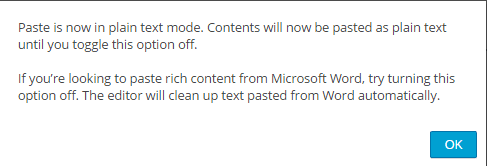
If you choose to write your posts in word or something similar, you will copy the text and then paste in your page or post editor. You can use the paste as text option to paste as plain text instead of word formatting.
Clear formatting will clear the formatting of the text you highlight.
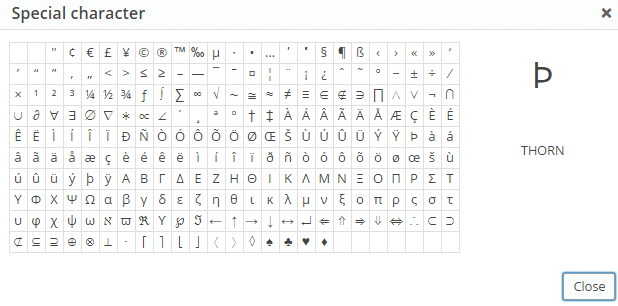
Here are your special character options:
Increase the indent on your line and to remove simply click decrease indent.
Undo undoes the previous action and redo will repeat the last undo.
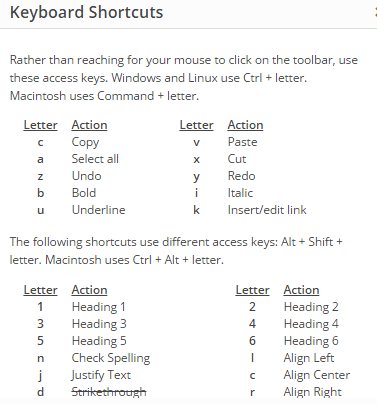
Keyboard shortcuts just tells you how you can accomplish certain tasks without using your mouse.
OK! That is all of your editing options, the add media button will need a little more of an explanation and we’ll be writing a post specifically for that..
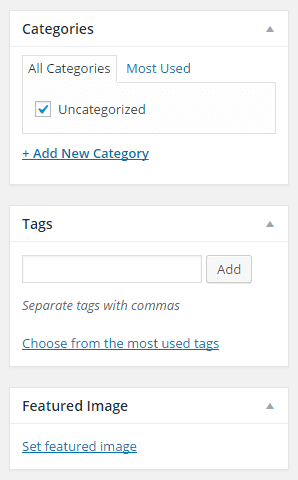
Once you are all done with your post or page then you will want to assign it to a category(posts only), add tags and a featured image and then publish.
You will create categories for different types of posts you want to write and the tags are usually keywords from your post/page.
The featured image would be an image from your article and it will automatically be displayed in the summary on the blog roll or when you share it on social media.
These will all be covered in more detail in further posts.
To publish your page or post, you simply need to click on the publish button on the top right side of your editor. Let’s take a look at that area.
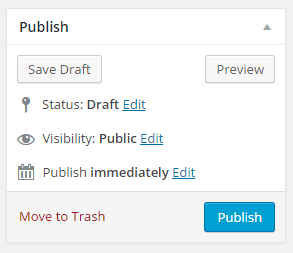
Your options:
Save draft will save your article and you can come back to it later to finish it up.
Preview allows you to look at the article on the site. It is important for you to preview before publishing because your article never looks the same on site as it does in editor. You can check spacing and other visuals to make sure it is to your liking before publishing.
Status tells you what state the article is in. It will be either draft, pending review or published.
Visibility allows you to set a page as public, private, or password protected. This is good for special offers sometimes and protects any information you want only available to subscribers.
Publish functions enables you to publish immediately or set a future date for publishing. This comes in handy if you are out of town or just unable to work on a certain day but still can publish new content.
Move to trash if you are completely unsatisfied with it or publish if it is ready.
Hopefully this has given you a better understanding of your page/post editor functions in dashboard. If you have any questions you can contact us or leave a comment below.